In stitch and glue boat construction, just about everything contributes to the strength and rigidity of the overall boat. Even the rear seat gets into the act as it ties the sides, rear bulkheads, and transom together.
Cutting out the Boat Hatches

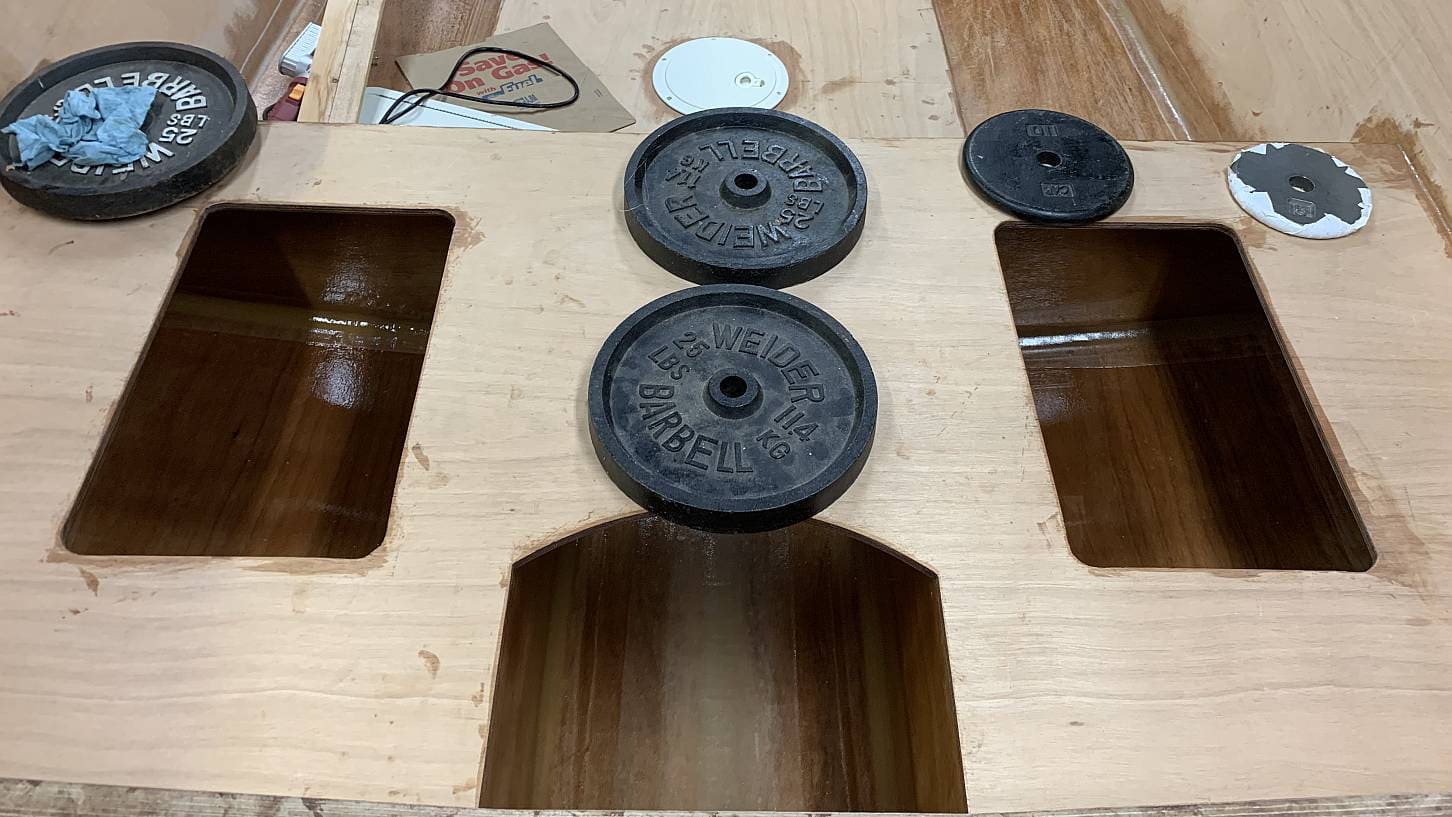
I cut out the rear seat, fit it and moved onto cutting out the holes for the boat hatches. These would provide access to the storage space underneath the seat created by the rear bulkheads.
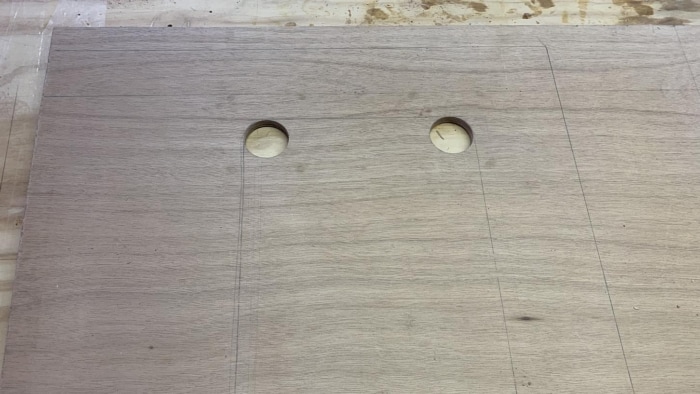
Cutting out the hatches didn’t need to be accurate. The hatch frames overlap the cut out, which can hide a myriad of sins. I started with a hole saw at each corner then cut between them with a jigsaw. Some sanding and shaping and the hatches fit snugly.
Rear Seat Notch or Measure Once. Cut Twice.
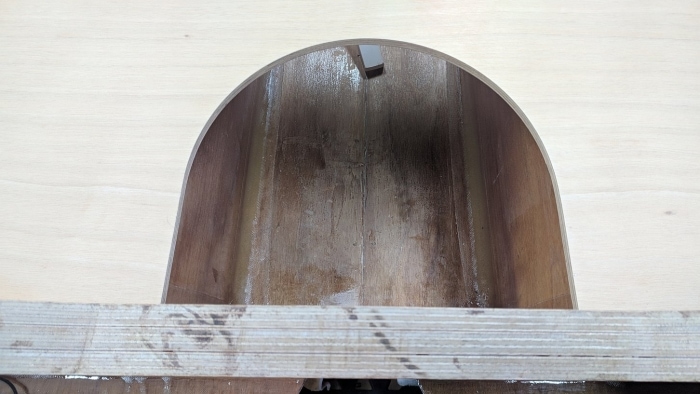
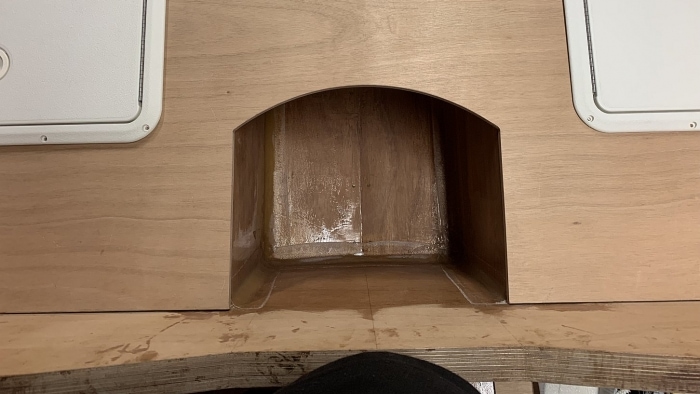
The plans called for a notch at the rear of the seat to allow access to the tunnel between the rear bulkheads where the gas tank will eventually sit. While fitting the rear seat, I got carried away. While the seat fit fine, I ended up taking more off one side than the other. As a result, my original center line shifted so when I cut out the rear notch, it was slightly off. Argh! Someone casually looking wouldn’t have noticed it but I knew it was there.

I decided to make a new notch. I placed the seat back in the boat and traced the outline of the bulkheads onto the underside of the seat. This gave me the dimensions of the tunnel between the bulkheads. I drew a new center line and used the circle cutting jig to create a curve that connected either side of the tunnel.

Seat Glue In
Finally, it was time to install the rear seat. I sealed the edges with straight epoxy and applied packing tape to the underside edges of the seat. Thickened epoxy filled the gaps between sides and transom and the tape prevented drip through.
Down the road, fillets and 2″ fiberglass tape will tie the seat to the sides and transom. But this will wait for a concerted fillet and tape event to handle both front and rear seats.
