
Time to get rid of the zip ties which serve as stitches in our stitch and glue boat.
Stitches Begone!
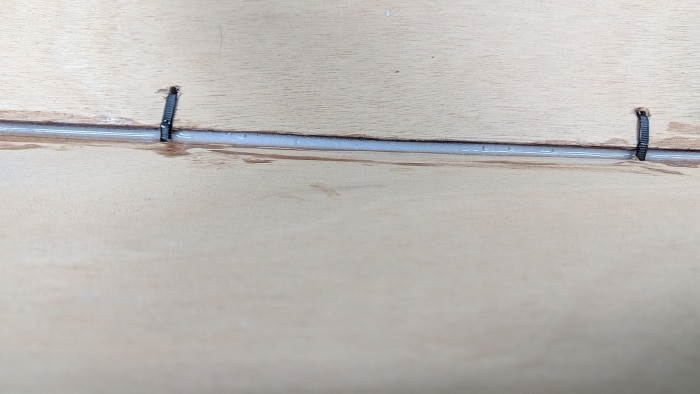
I finally had the opportunity to apply an initial bead of thickened epoxy in order to remove the zip ties – the stitch part of a stitch and glue boat. This made a tremendous difference in the rigidity of the hull. With just zip ties in place, there was something ephemeral about it – as if it wasn’t quite real. But with the glue taking over for the zip ties, it gave the boat a feeling of permanence. And with that, I started to get a better sense of how strong the whole structure will become once all the other bits come into play – the bulkheads, seats, breasthook, cap rails, and floor – all contributing to making the stitch and glue Tango Skiff 17, strong, rigid and lightweight.
Ugly Duckling Stage
I took some time to start filling in holes and it struck me that I had entered the “ugly duckling stage” of the build. I remembered how gingerly I had treated this beautifully smooth Okoume plywood. I was even nervous about cutting into it and now I was smearing it with splotches of epoxy.
What a difference time and the desire to progress make. I could start to see sanding in my future – something no one looks forward to. Fortunately, I have my trusty orbital sander and detail sander to get me through it.
And, if all goes well, we’ll make the transition from this stage into full-on swan. At least, let’s hope so. Remember, this is all new to me.
Next Steps
With the side and bottom zip ties out of the way, I move on to gluing in the transom. I hadn’t used zip ties to hold the transom in place. Instead, I used several temporary screws. Time to get rid of these.