
In traditional boat building, the keel is a structural member running from bow to stern. It acts as a spine of sorts around which the boat is built. It is typically considered the start of boat construction.
On a stitch and glue boat like the Tango Skiff 17, it comes later – built up from layers of epoxy and fiberglass that join and reinforce the centerline between the right and left boat bottom panels.
But First, a Setback
Back when it was time to remove the stitches I sanded the bottom centerline and applied a bead of epoxy so I could remove the zip ties used to established the initial shape. I continued on my merry way, installed the front and rear bulkheads, and decided it was time to work on the keel. I’m a tall guy with long arms but I couldn’t see how I would build the keel without climbing into the boat.
Let’s just say climbing in didn’t go according to plan. The bottom gave way right through the middle but there was enough remaining structural support to prevent it from becoming more than a narrow gap running several feet. I was clearly too stingy with that initial bead of epoxy.
So, I had to join the panels again. I started by placing a temporary support under the bottom to help push the two halves together. Next, I wedged myself between the boat bottom and the stand and drilled out three previously filled pairs of holes. I then passed zip ties through to tighten the bottom back together and applied a more generous bead of epoxy down the centerline.
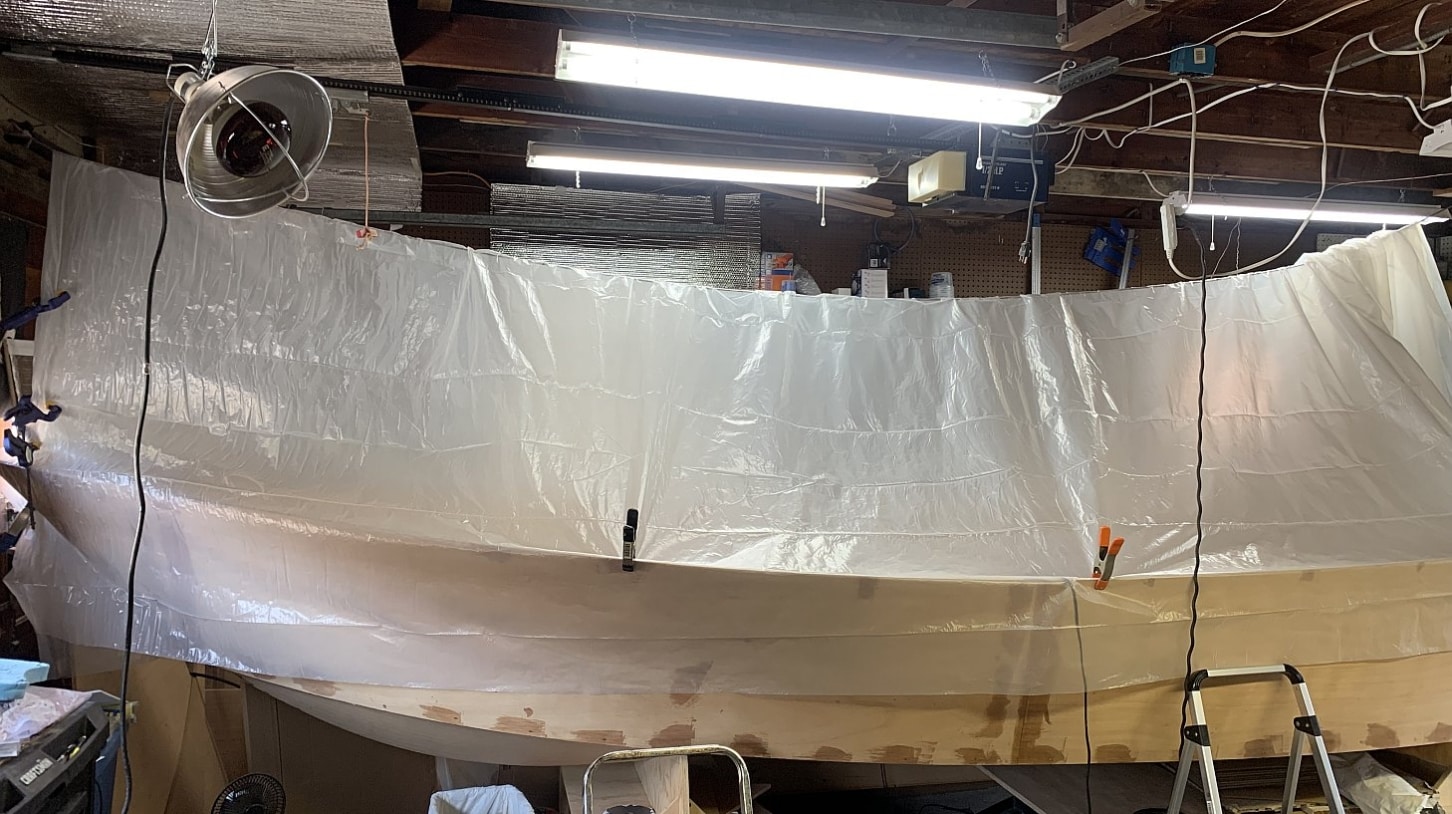
It was still winter so I had to find a way to keep the temperature up overnight. I placed a small electric heater in the boat and a plastic tent over the tent to contain the heat. This was my first opportunity to use this particular idea from Challenges in Heating a Boat Workshop and it worked like a charm.
The next day, I climbed in… SUCCESS. It held and I could now move on to building up the keel.
Laying Up the Keel
The process was simple enough. I created a fillet of thickened epoxy the entire length of the boat bottom. On my work surface, I wetted out two layers of 8″ fiberglass tape overlapping them about 3-4″ down the middle. I wrapped these around a dowel, climbed into the boat and unrolled it unto the fillet. The next day, I epoxied a third layer of 8″ fiberglass right over the top of the previous two. The inside of the keel was done.
Down the road when the boat is flipped, the keel will be built up even further. The outside joint between the bottom panels will be filled with thickened epoxy. Then the entire outside of the boat will be wrapped in fiberglass sheets overlapping at bottom seam for a total of five layers of fiberglass between the inside and outside. The result will be very strong.