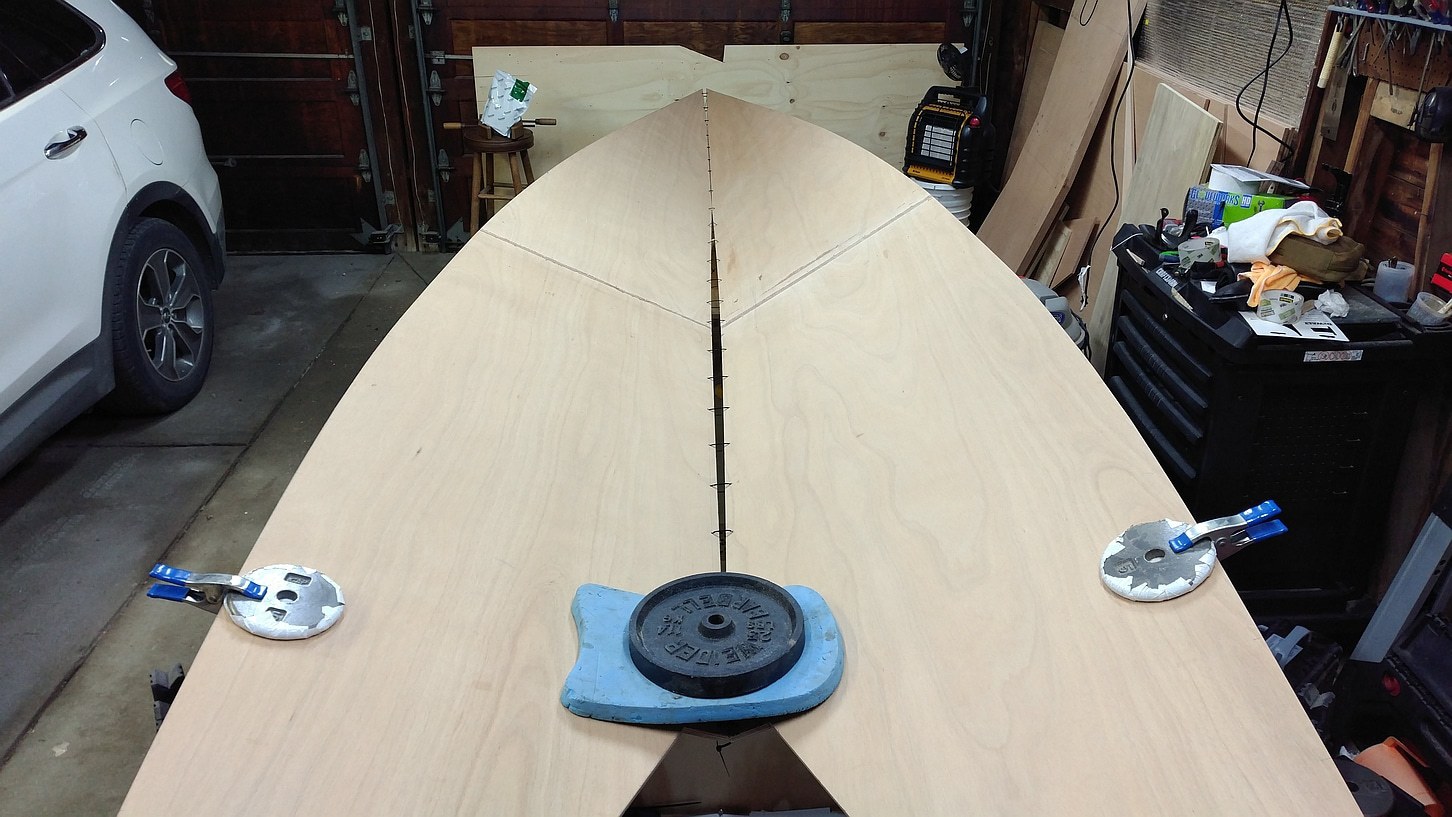
Boat bottom panels are ready to go after scarfing, epoxying and trimming to final size and shape.
With one exception, the process of assembling the boat bottom panels is essentially the same as covered in Skiff Sides Scarfed, Epoxied and Trimmed. The major difference is that the bottom panels require laying out curves while the sides are simply straight lines.
Laying out the Boat Bottom Panels
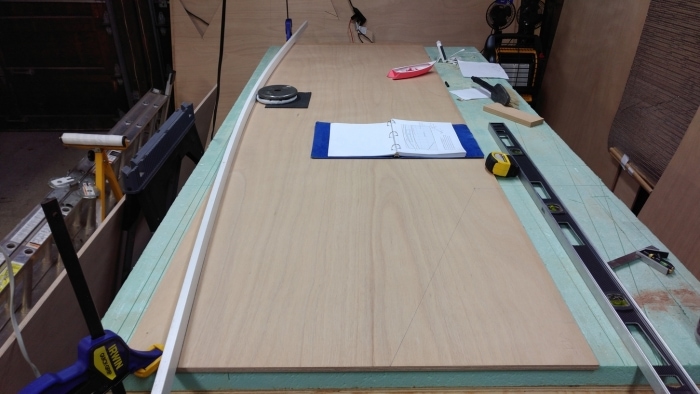
To achieve a fair curve I needed a batten. Since it’s difficult to find good lumber at the big box stores, I opted for a long piece of PVC trim which is consistent and takes a fair curve. From there, the steps are to get locations of the curve’s mid and end points from the plan, mark them off, position the batten and draw the curves. But due to concerns that my 12′ batten might not be long enough, I took a bit of a belt and suspenders approach to the curves. Before I joined the two pieces that make a single bottom panel, I drew the curves. Once I scarfed and epoxied them, I rechecked the curves and found them to be spot on.

Trimming the Boat Bottom Panels to Final Shape
With the curves laid out, it was time to start trimming. In order to keep the panels matched, I laid one on top of the other, clamped them down and used my Bosch jigsaw to cut as close to the line as I dared. Then I switched to the hand plane for the final trim. Throughout, I used an engineering square to keep the edges of the two panels square. See the image at the head of the article for results.
The results were good although I admit I was overly cautious with my jigsaw cuts. In other words, I left a fair margin which then had to be planed down. Less excess material would have meant less planing but its easier to shave off material than try to add it back. Regardless, I felt good about the planing so next time I expect I’ll be more aggressive with my approach to the cut line.
