
After spending a bit of time learning how to scarf plywood with a hand plane, it was time to complete the Tango Skiff’s sides. Each side consists of two 8′ sections and a 1.5′ bow section for a total of two scarfs per side.
Plywood Scarfs Cut and Epoxied
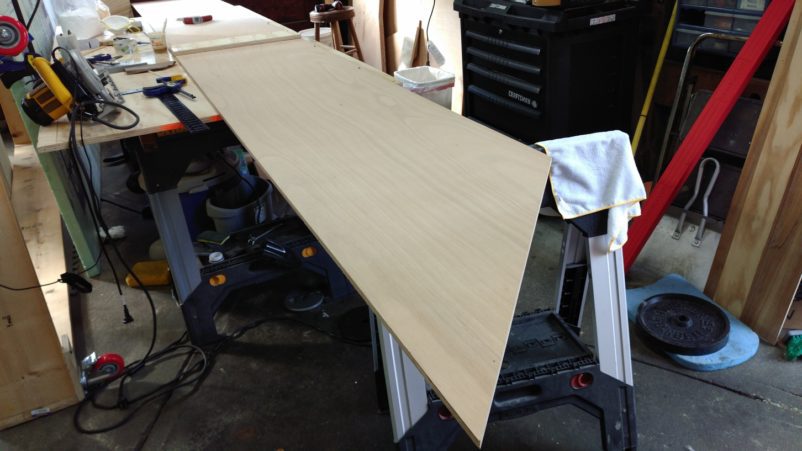
With Epoxy Basics and Scarfing Basics close at hand, I began the process of setting up the sides. Due to limited space, I had to complete each scarf glue up individually. And no, that’s not a butt joint in the picture below. It’s a plywood pressure plate screwed through the sides and into the underlying work surface. It ensures that the scarf joint realigns as intended (I dry fit everything first) and that pressure is uniform. See the article link above for more.
Trimming the Sides to Final Dimensions
Once the epoxy dried, I compared the two by laying one on top of the other. While close, I expected some deviation. So, I aligned them as close as possible and once again turned to my now trusted hand plane to trim them to their final dimensions. My final measurement confirmed I was still on track with the plans.