
Rather than drill holes for zip ties to hold the rear bulkheads in place, I decided it made more sense to assemble them outside the boat. So that’s what I did.
Dry Fitting the Rear Bulkheads
The first thing I did was confirm how close the rear bulkhead plan dimensions were to the very real boat I was trying to build. Here’s how it looked:
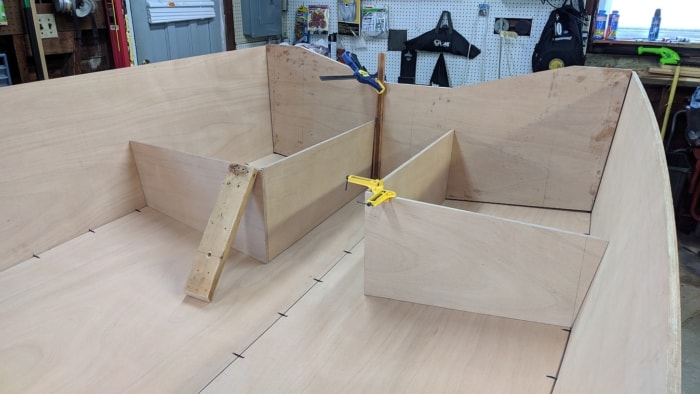
However, because I hadn’t replaced the stitches with epoxy, things were still a bit wobbly so I expected I’d need to do some more fitting.
Some Assembly Required
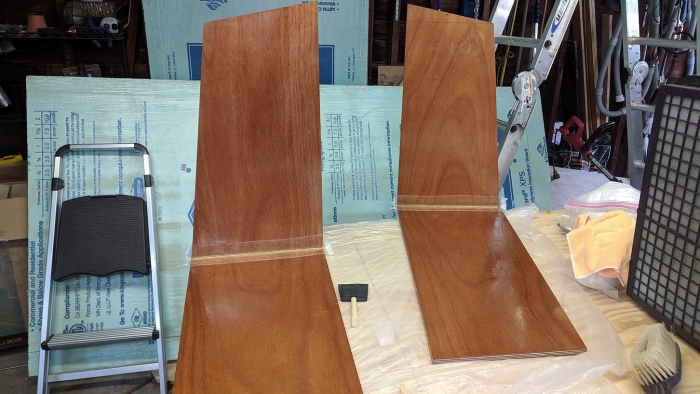
To keep things lined up, I used a small nail to tack each of the two bulkheads that make up a side of the boat. I found that each of the pairs of bulkheads had one that stood proud of the other. So before I continued, I trimmed them. Once trimmed, I edge glued each pair and used a right angle clamp to secure them.
Once this was dry, I created an inside corner fillet and covered it with wetted out 3″ fiberglass tape. While I was here I decided to epoxy coat both the inside and outside surfaces. The results were better than I expected:
More Dry Fitting
After assembling the bulkheads, I found that I still needed a bit more fitting. The bottom edge of the transverse bulkhead met the sides just fine but by the time it got to the top, I could see this gap.
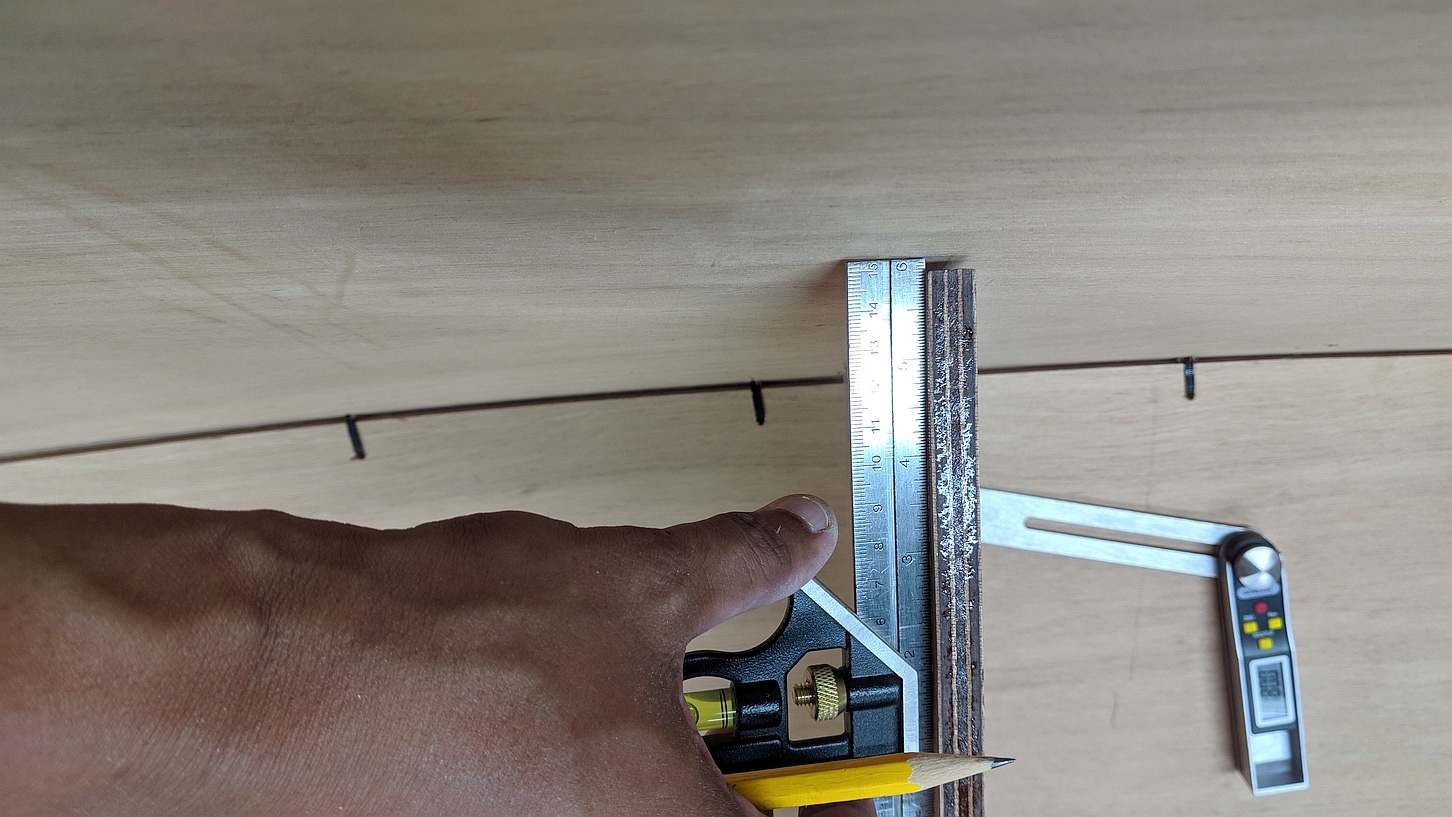
Rather than hit it with a hand plane, I decided to make quick work of it with my circular saw. Here’s what I did:
- Take the measurement from the observed gap and mark it on the bottom – not the top – of the transverse bulkhead.
- Draw a line from this mark to the top corner of the transverse bulkhead.
- Cut along the line.
What this effectively did was move the top corner in by that measured amount. I performed the same steps on the other pair of bulkheads and we were ready to glue them up.
Lessons Learned
I would have done two things differently.
- I would have replaced the stitches with a bead of epoxy before I started fitting the bulkheads. Sides were moving a bit more than I would have liked and having these glued in would have probably saved me the time I took for the second dry fit.
- I would have not coated the surfaces of the bulkheads in epoxy until after I glued them in place. I thought I’d save myself a bit of trouble by doing it while I had them right in front of me. However, the area is still very accessible once it’s in the boat. In addition, epoxy drips will happen and as I would later find out while permanently gluing them in, I would get epoxy onto those nice clean surfaces.
Next Steps
Time to get the boat firmed up by replacing the zip ties – acting as stitches – with beads of thickened epoxy. I think this will help a lot to reduce the amount of overall movement in the hull which made it a bit more difficult to fit other parts.