I finally got back to building the Tango Skiff. Next on the list was fitting the front and rear bulkheads. To do so, I had to get the sides spread to 1″ short of the boat’s final 6’1″ beam as called for in the plans.
Spreading the Sides
After trying a few different approaches, I found the best way to spread the sides was to use a ratcheting cargo bar. These were perfect for the job. They spread from 40″ to 70″ and the pivoting rubber pads adjust to the angle of the sides and hold fast. Someone should rebrand these and market them to boatbuilders. To any boatbuilding supplier listening, “you’re welcome.”
Locking the Bow in Place
While working to fit the front bulkhead, I noticed the front moving more than I’d like. Recall that at this point, the front was being held by nothing more than zip ties. This made initial fitting a bit maddening. So, I decided to lock it into position. I gave the front bow some thickened epoxy and taped the inside. With the bow stable and the transom glued in, the boat structure was more rigid but at this point, I thought “why not more” so I figured I’d secure the rear bulkheads and then come back to the front bulkhead.
Installing the Rear Bulkheads
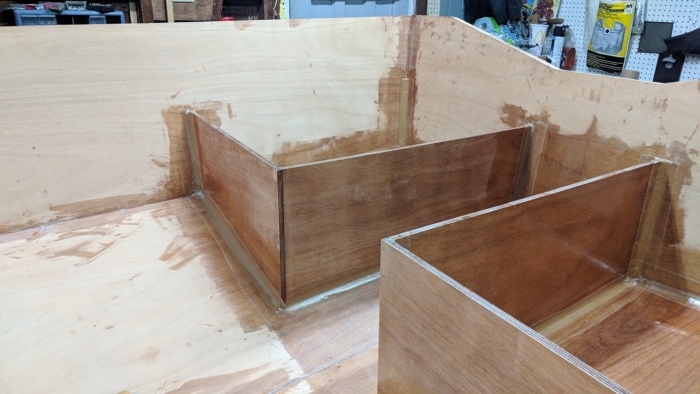
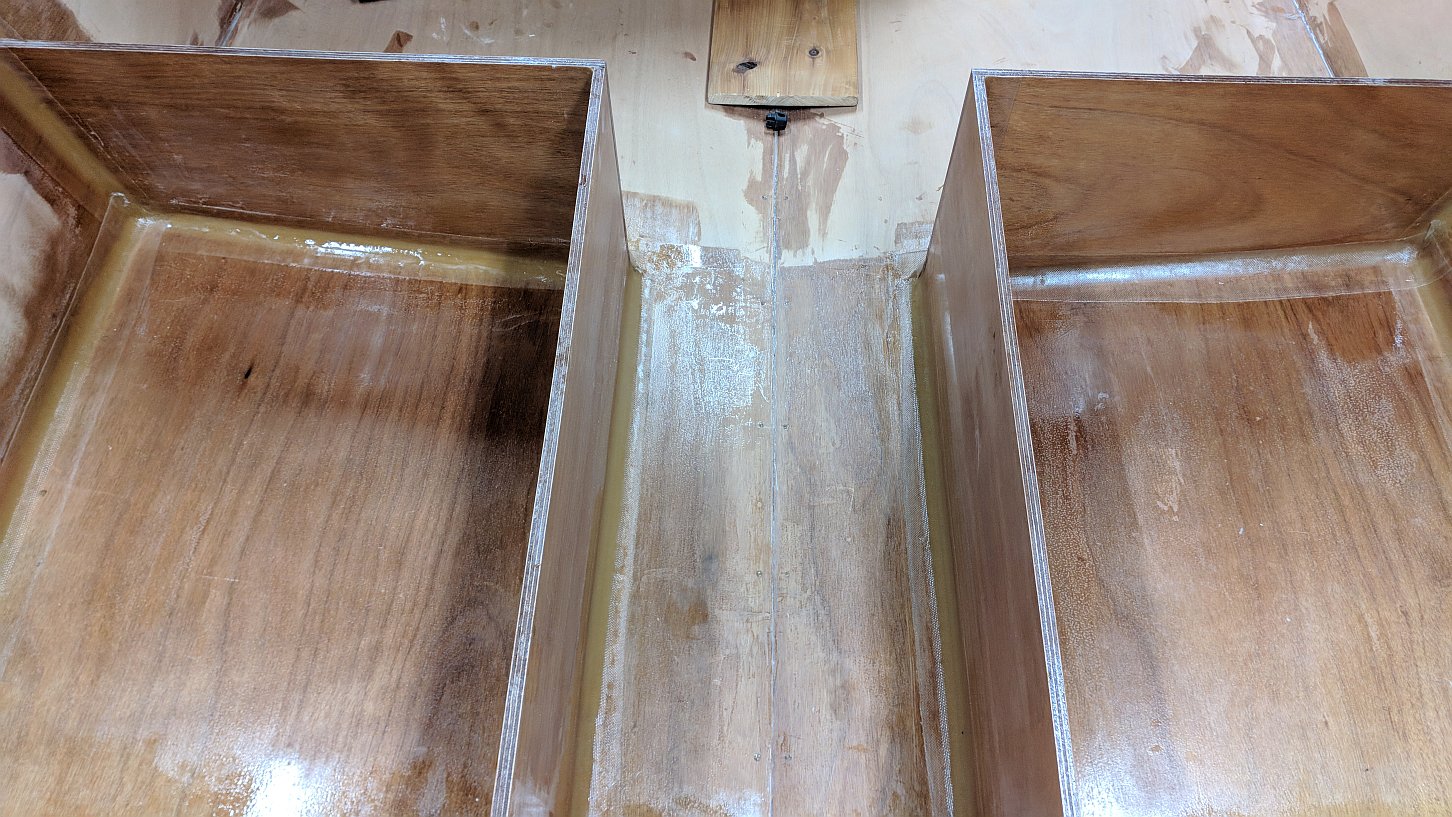
I had assembled the rear bulkheads some time back and now it was time to install them with fillets and fiberglass tape. It wasn’t the neatest work I’d done but its serviceable.

NOTE: I shouldn’t have filleted and taped the forward face of the rear bulkheads to the floor but more on that in a follow-up post (hint: it gets in the way of fitting the floorboard).
Wet Tape > Dry Tape
My previous fillets involved creating the fillet then laying precut dry fiberglass tape and wetting it out. However, I found I’d end up with too much epoxy. So I changed to a wet tape over fillet approach:
- Cover a board in packing tape
- Lay the precut fiberglass on it
- Wet out the fiberglass
- Take it over to the fillet and lay it on
I ended up with a great fiberglass tape wet out with no excess epoxy. It also made positioning the tape onto the fillet much easier. While doing some research, I later found out that for longer runs, builders wrap the wetted tape on a stick and then feed it onto the surface.
Installing the Front Bulkhead
With the rear bulkheads secured, I came back to the front bulkhead which was just a piece of .5″ thick plywood with nothing else to it. How to secure it to fit it and then later to epoxy it in place?
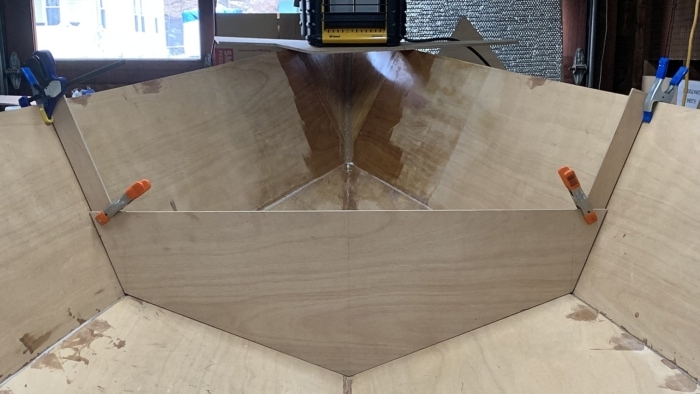
Not quite sure what to look for, I ran a Google Image Search on “front bulkhead wood boat” hoping to stumble on an idea. As I looked over the results, I saw that many wooden boat bulkheads used lumber framing with vertical frames running up the sides of the boat. This gave the bulkhead form stability and a place to clamp off the top. So, why not create temporary vertical frames by clamping a couple of straight pieces from the scrap pile?

With the temporary vertical frames in place, I fitted and positioned the front bulkhead and traced out its location onto the sides and bottom. I then removed the vertical frames and coated the bulkhead edges with straight epoxy. Next, I wrapped the vertical frames with plastic, clamped them back in place and realigned the bulkhead. I then applied thickened epoxy to glue the bulkhead in. Finally, they were filleted and taped in place.
Next…
With the bulkheads done, I moved on to the rear seat.
