
The unseasonably warm weather meant it was time to break out the epoxy and work on gluing the transom. It was still chilly but good enough that I could take advantage of what I learned about heating a boat workshop.
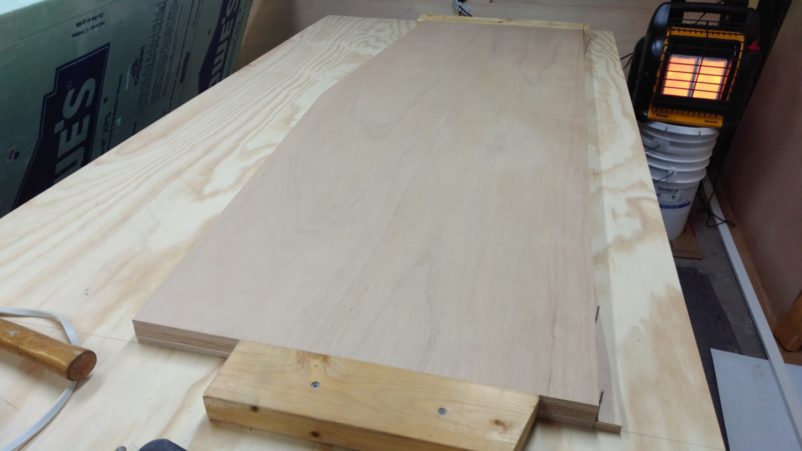
The Tango 17’s boat plans call for a transom assembled from 3 1/2″ thick layers of marine plywood. Each layer was rough cut as per instructions resulting in one panel that had a couple of “ears” on the upper portion. These would actually come in handy…
Aligning the Plywood Layers
With the layers only roughly cut out, there was some variation in size between them. The Cabosil thickened epoxy would be slippery and make overall alignment a challenge so I needed to consider how to do this with minimal fuss. I broke it down into two steps.
First I stacked all the dry panels together to determine the order I would glue them up. The individual transom layers are 5 1/2 feet wide so I tackled side to side alignment first. For this, I screwed a piece of scrap two by four on either side of the panels.
Next, I addressed top to bottom alignment. I focused on getting the tops of the layers aligned since this is what you’ll see once the transom is in place. Taking advantage of the “ears” on one panel, a few nails in this spot allowed me to push the other two panels against them and get a repeatable alignment.
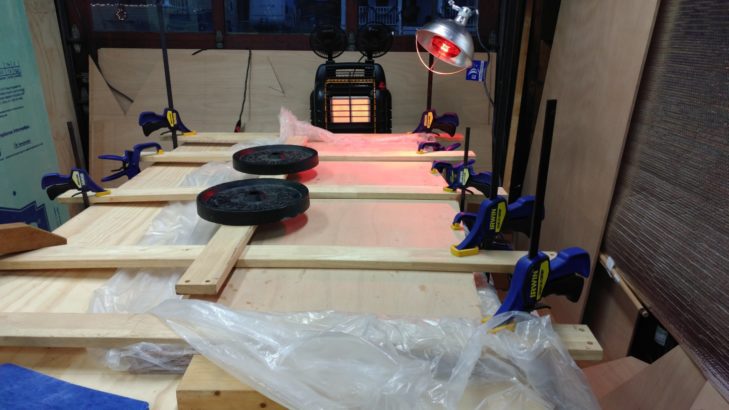
Gluing the Transom
I got to the messy stuff. The goal was to work quickly as the epoxy has a limited pot life. So before I mixed up epoxy I made sure of a few things. First, I laid plastic down on the work surface overlapping the scraps of wood I had screwed down for alignment. You don’t want your future transom to stick to the work surface. Next, I made sure I had the plywood layers laid out in just the order I would apply glue. Lastly, I made sure I had all my epoxy ready to go including mixing cups, protective gloves, brushes, rollers, etc.
This was my first attempt at using epoxy so I was a bit nervous. However, I had the benefit of having read Epoxy Basics from PT Watercraft. It’s a brief, yet in-depth overview of effectively applying epoxy while staying safe.
I probably didn’t have to race quite as much as I did but epoxy and marine plywood aren’t cheap. I didn’t want to take a chance on it setting up before I was ready. Once everything was glued together, I clamped the pieces down while making sure I maintained alignment. The last step was to make sure my heat sources would provide good heat distribution along the entire glue up.
Final Thoughts
The transom is largely done with a couple of exceptions. First, I need to cut out inspection ports in the lower left and right corners of the transom. These will provide access to the transom extensions which are the hallmark feature of the Tango Skiff. I’ll wait until I’m ready to do a dry fit of the transom with the sides and bottom before completing this step. Second, I have a bit of cleanup of the top of the transom.
UPDATE: I never did cut out those inspection ports and I’m glad I waited. I wanted swim access and the solution finally came up in the form of swim platforms for the transom extensions.
Epoxy is messy stuff. Even when I thought I was working clean, I wasn’t. Since epoxy exposure can lead to sensitization, it’s important to work as cleanly as possible especially as I handle tools, come near surfaces, etc. The next go-round should go easier when I start to glue up the scarf joints on the bottom and side panels.